As kids, growing up in Ohio, my sister and I would enjoy after-dinner coffee.
We weren't into sophistication, though. We were into the flavor combination of cookies and coffee.
Our parents would pour us each a very little cup of coffee and then add milk and a sprinkling of sugar.
And then the main attraction--Oreos for dunking.

When it came time for me to figure out what baking recipes make people happy,

it wasn't difficult to choose this cookie.
Let’s face
it. Oreos can be addictive, as a study by researchers at Connecticut College
determined. Nibbling the salty chocolate
cookie with its sweet vanilla filling prompts neuronal
activation in the “pleasure center” of the brain (at least it does in lab
rats).
But we’re not lab rats. We’re people.
So, let’s have a homemade,
you-know-exactly-what’s-in-it treat.
I adapted this from a recipe by Joanne Chang of
Flour Bakery in Boston. These homemade Oreos can be what you want them to be.
Make them bigger or smaller.
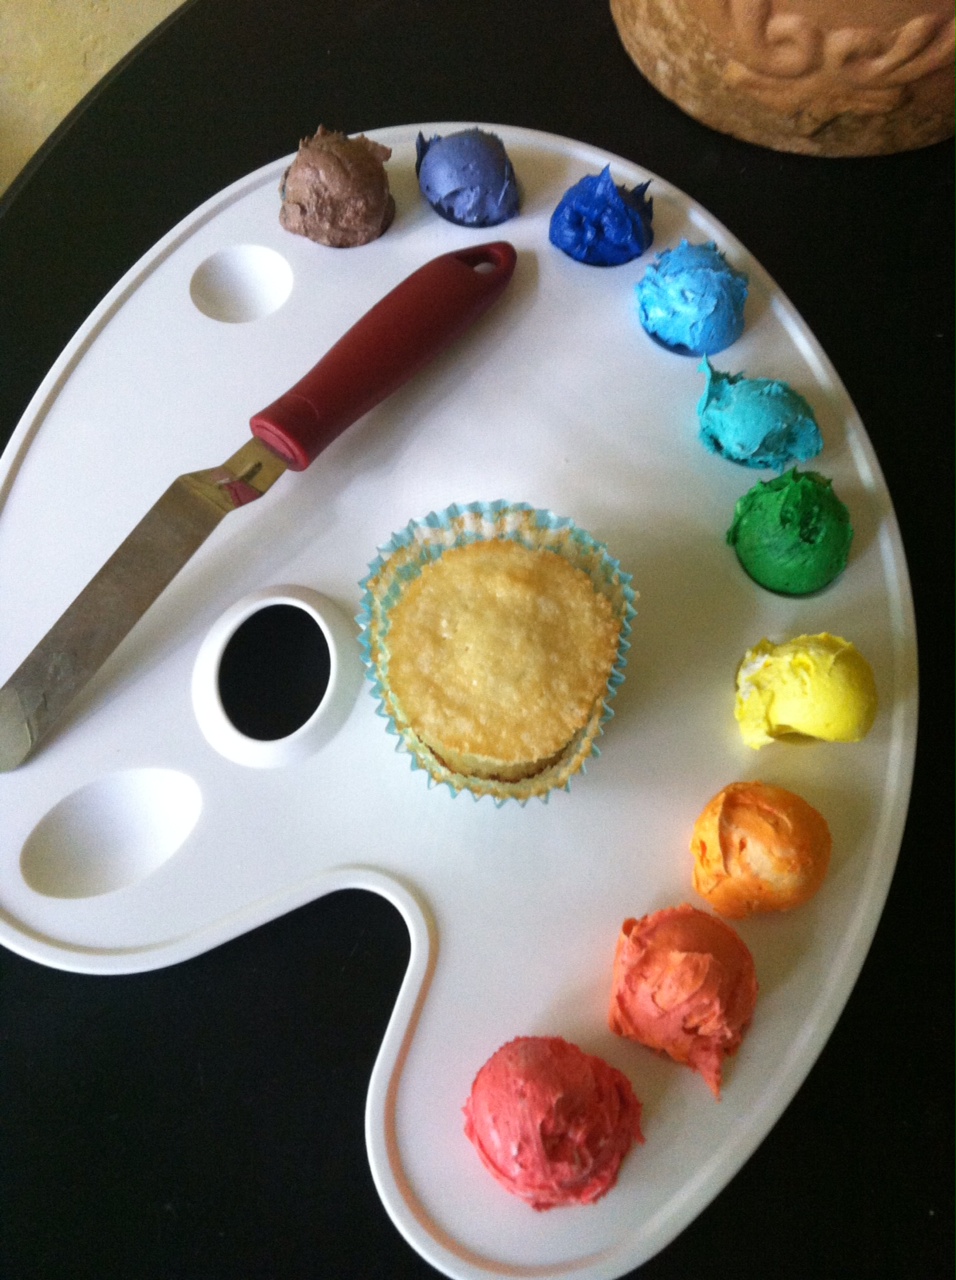
Neat and tidy, as pastry chef Heather Roebbeke made the festive ones above, or the more rustic and colorful ones below.

Color and flavor the filling as you wish.
Give them a holiday twist.

And dunk all you want.
Homemade Oreos
(adapted from Bake Happy by Judith Fertig)
Makes about 16 (3-inch) sandwich cookies
Cookies:
1 cup (226 g) unsalted butter, cut into
pieces
3/4 cup (170 g) granulated sugar
1 cup (175 g) semisweet chocolate chips
1 large egg
1 teaspoon vanilla
11/2 cups (188 g) unbleached all-purpose
flour
3/4 cup (88 g) unsweetened cocoa powder
1 teaspoon fine kosher or sea salt
1/2 teaspoon baking soda
Vanilla Filling:
1/2 cup (113 g) unsalted butter, at room
temperature
12/3 cups (195 g) confectioners’ sugar
1/8 teaspoon fine kosher or sea salt
1 tablespoon milk
1 teaspoon vanilla extract
Food coloring (optional)
In a medium saucepan over medium-low
heat, whisk the butter, granulated sugar, and chocolate chips together until
the butter and chocolate have just melted. Remove from the heat and whisk in
the egg and vanilla until well blended. Whisk in the flour, cocoa powder, salt,
and baking soda until well blended. Let cool for 15 minutes, then transfer the
saucepan to the refrigerator and let cool for 30 minutes or until the dough is
thick like modeling clay.
Place a 15-inch long sheet of parchment
paper on a work surface. Spoon the dough into a 12-inch line on the parchment
paper. Roll the parchment paper around it and work the dough into a smooth
cylinder about 10 inches long and 2 1/2 inches in diameter. Wrap and chill the
dough for 2 hours or overnight. (You can also wrap and freeze the dough for up
to 3 months at this point.)

When ready to bake, preheat the oven to
325°F (160°C). Line 2 large baking sheets with parchment paper and set
aside.
Unwrap the cookie dough. Using a chef’s
knife, cut the dough into 1/4-inch thick slices and place 1 inch apart on the
prepared baking sheets.

Place on the upper and lower racks in the oven. Bake
for 11
minutes, then switch the baking sheets and continue baking for another 11 minutes
or until the cookies are set when pressed gently in the middle. Let cool on the
baking sheets for 1 hour. The cookies will firm up as they cool.
For the filling, beat the butter,
confectioners’ sugar, milk, and vanilla in a medium bowl with an electric mixer until smooth. Add food
coloring, if you wish.
Place about 1 tablespoon filling in the
center of 1 cookie, top with another, and gently press in the middle of the top
cookie to spread the filling out to the edges. Store in an airtight container
for up to 3 days.

Variation: For smaller cookies, form the
dough into a 14-inch long cylinder with a 11/2-inch diameter. Cut the dough
cylinder into 1/4-inch slices and bake for 20 minutes, switching the baking
sheets halfway through baking. Fill with
2 teaspoons filling.
Variation: For Coffee Filling, add 1 tablespoon freshly
brewed dark roast coffee in place of milk.
For Vanilla Lavender Filling, add 1/4
teaspoon (1 ml) dried culinary lavender buds.
So Happy Together:
Homemade Oreos + Flavored Milk
As a kid, I loved to dunk Oreos in a
little cup of coffee flavored with milk and sugar, which my sister and I were
allowed to have after dinner. For extra
pleasure, dunk your Homemade Oreos in a flavored beverage to match your
filling.
Vanilla Filling: Dunk in Mint Milk, made
by stirring 2 teaspoons Fresh Herb Syrup (page 000) made with fresh mint in a
glass of cold milk. You can also try dunking in egg nog.
Coffee Filling: Dunk in a cup of café au
lait or hot chocolate.
Vanilla Lavender Filling: Dunk in
chamomile lavender tea.
And grab a copy of Bake Happy for even more ways to bake you happy!